
General Settings is where you can make amendments to areas of Jobtrain such as Locations and Departments; new candidates' application statuses; or upload documents to the platform. These tend to feed into other areas of Jobtrain e.g. Job details.
What's included in this guide:
- Creating or amending in General Settings
- Exceptions
- Where does the information added in General Settings link to?
To access General Settings, go to Settings > General Settings (in the left-hand menu).
Some sections of General Settings may vary depending on how your platform has been tailored. For instance, Job Levels may have been repurposed and named Team or Recruiters.
If you are unsure, please contact your Continuous Improvement Consultant who will be happy to check the setup of your platform for you.
Creating or amending in General Settings
Most sections have similar options to make changes. To access information, please select the relevant tile.
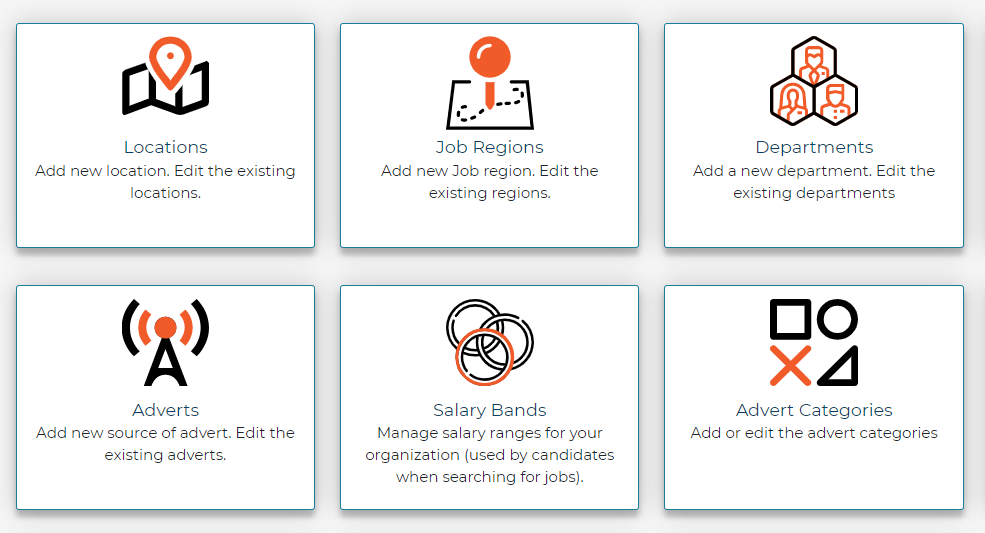
There are several options available in the left-hand menu. In this example we are looking at Departments:
- List: displays all existing entries in this section
- New: create a new entry
- Remove: remove entries that are no longer required
- Print: print a list of entries in this section
- Export: export to Excel

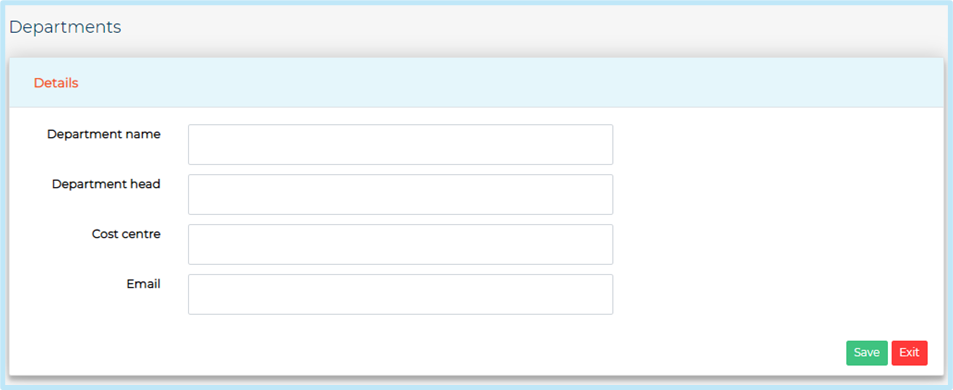
Below is a guide on how to create a new field. We are using Departments as an example here:
- Select New Department (or select a location you would like to edit)
- Complete all required information in the new window that opens, (or update the existing information for those locations you are editing), then press Save and Close
Add and amend locations
- Select New Locations (or select a location you would like to edit)
- Complete all required information in the new window that opens, (or update the existing information for those locations you are editing), then click Save and Close
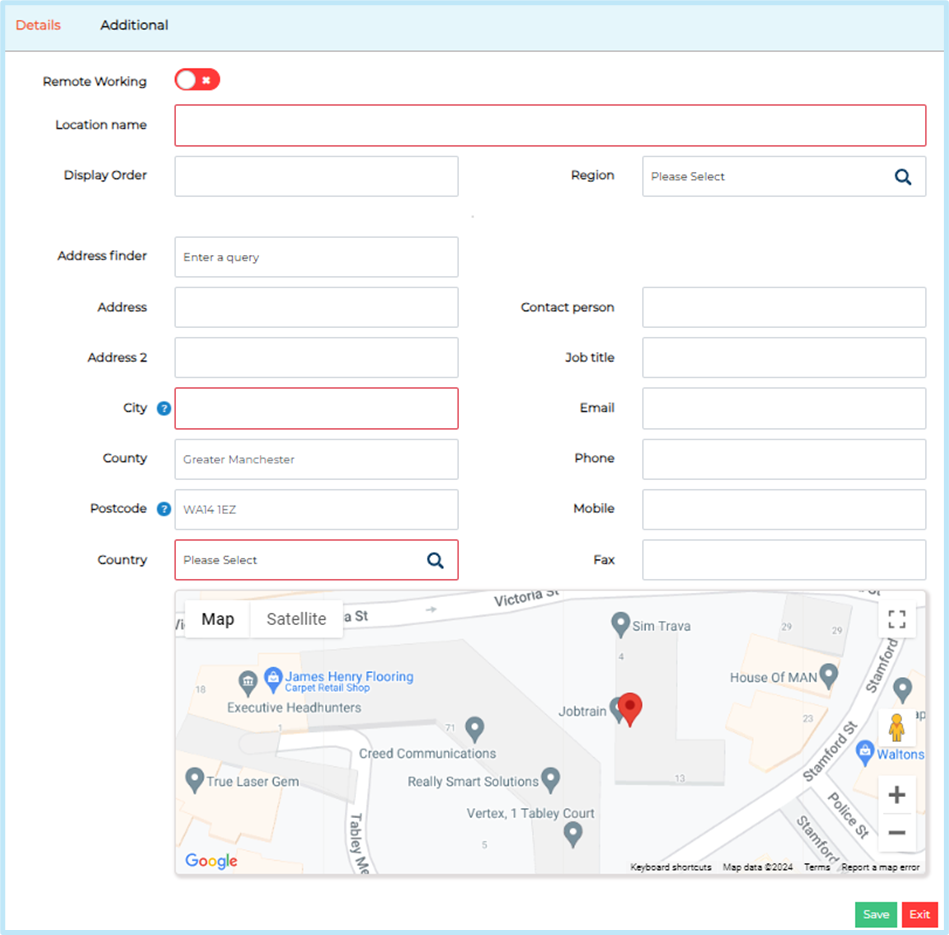
The city, postcode, and country fields are required for the Indeed feed to identify the location and to display the correct map on your candidate site (if enabled).
Did you know? The display order field allows you to define the order the locations appear in the dropdown on the Job details page.
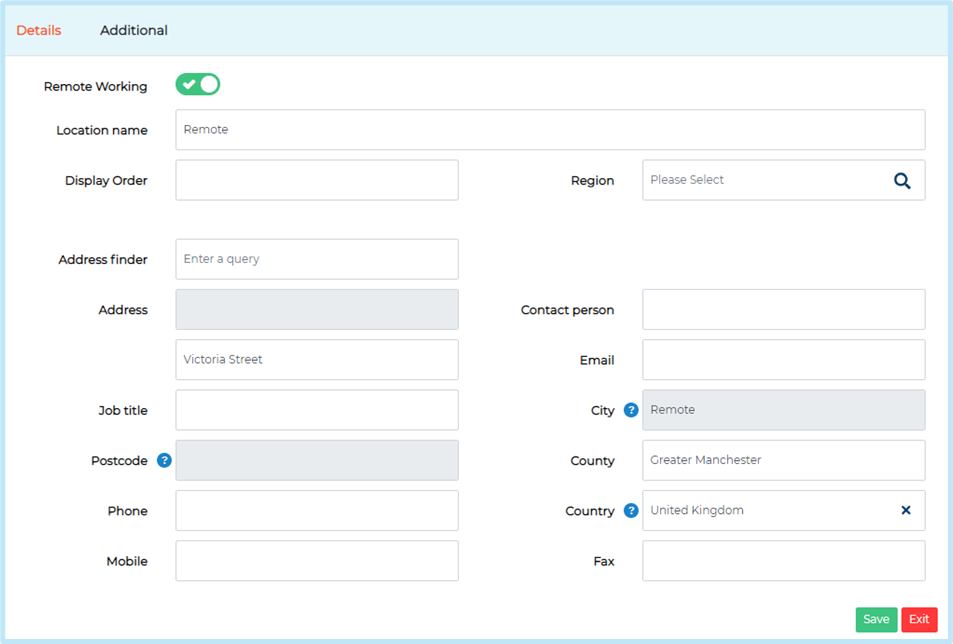
Remote working
You can create a ‘Remote Working’ location by entering a Location Name and enabling the Remote Working toggle.
Enabling this will set the city as Remote, grey out the address and postcode fields so they are unable to be edited and disable the map on this page and on the candidate site.
Exceptions
There are some areas that don't quite work the same as above. We've provided some guidance on these below.
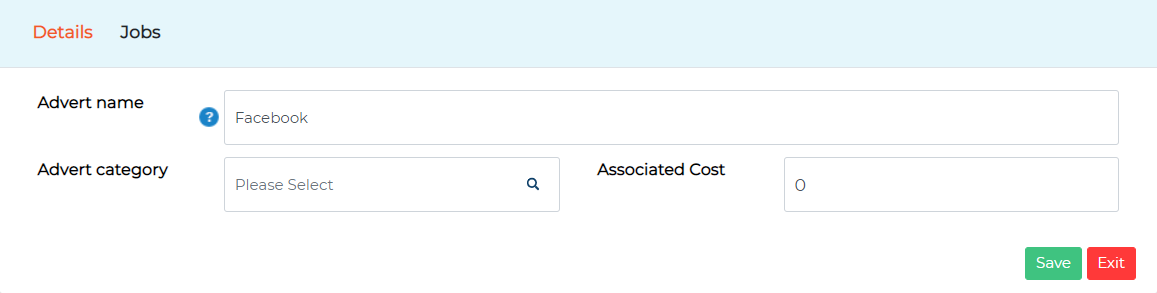
Adverts and advert categories
If you add an advert source in Adverts, the new entry will be available in the “Where did you hear about this vacancy” drop-down question in the application form.
Associated Cost of the advert can also be included which can be reported on using the Advert Cost Analysis report (in the standard reporting suite).
You can link any adverts to the categories created in Advert Categories.
Salary bands
For this section, create a salary band ‘from’ and ‘to’ field to create the salary range.
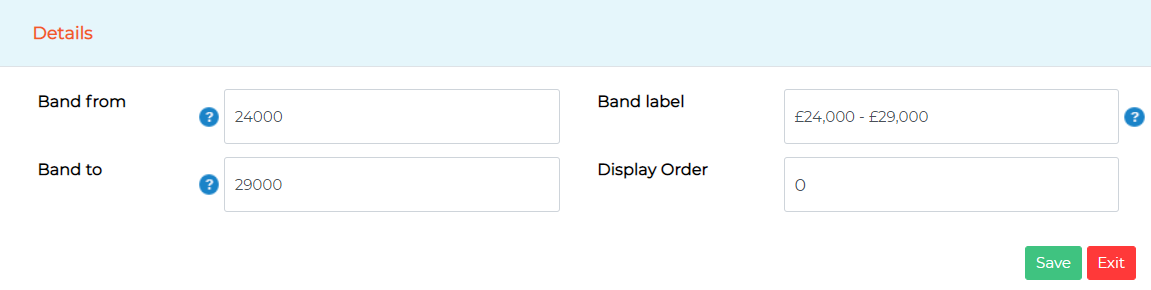
These typically pull through as the search fields section when creating a job and the search jobs/vacancies page on the candidate site. However, this is dependent on how your platform was set up during implementation after scoping.
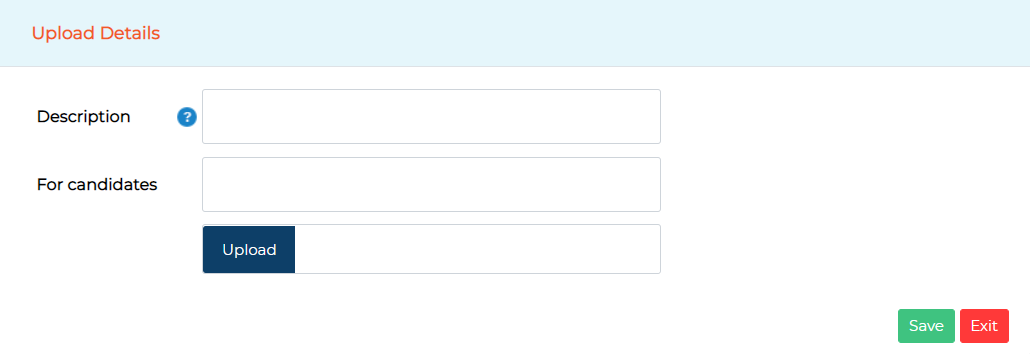
Document Library
Documents can be added to this section and attached to job adverts, emails, or used in the job approval process (if this feature is used).
- To upload a document, select New document
- Add a Description and add a 'candidate friendly' description in for candidates
- Browse and save the required document using the Upload button
If a document is added as part of creating a job or starting a job approval process, it will automatically be added to the Document Library.
We therefore recommend users check the Document Library before uploading a new document to avoid multiple versions of the same document being saved in the library.
New documents added to Jobtrain must be given a unique name. The platform will not accept multiple documents with the same name and therefore we recommend clearly labelling any documents you upload.
For example, instead of 'Job Description' use 'Support Worker Job Description April 2018'. This will also make it easier for other users to recognise the latest version of the document.
Address Book
This section allows you to add users to the address book.
When sending emails, simply search for a user rather than manually adding in their email address. This section also populates the list of available 'interviewers' within the calendar feature (if purchased).
You can set Jobtrain to automatically add newly created system users to the address book in system customisation (on the calendar page).
External agencies
Add new agencies to Jobtrain to give them access to the agency portal to submit candidates for roles when invited to do so. You can also amend existing agencies records here too.
This section should only be completed if your organisation uses the additional agency portal feature. If you do not currently have access to this functionality, your Continuous Improvement Manager is happy to discuss this with you further.
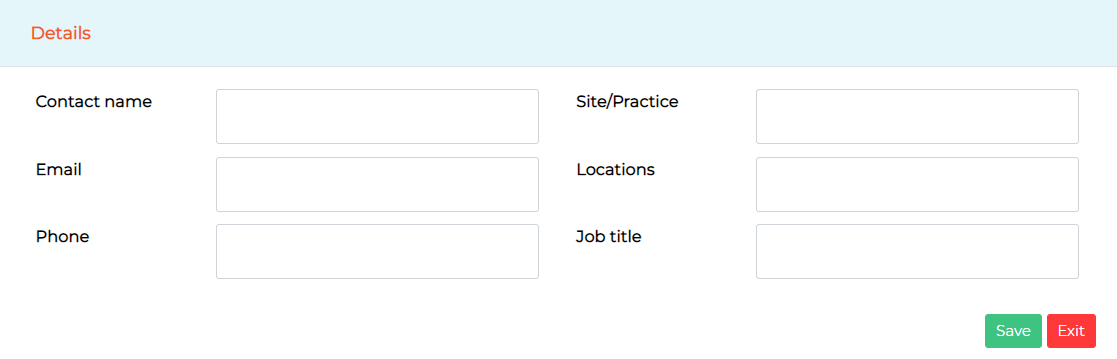
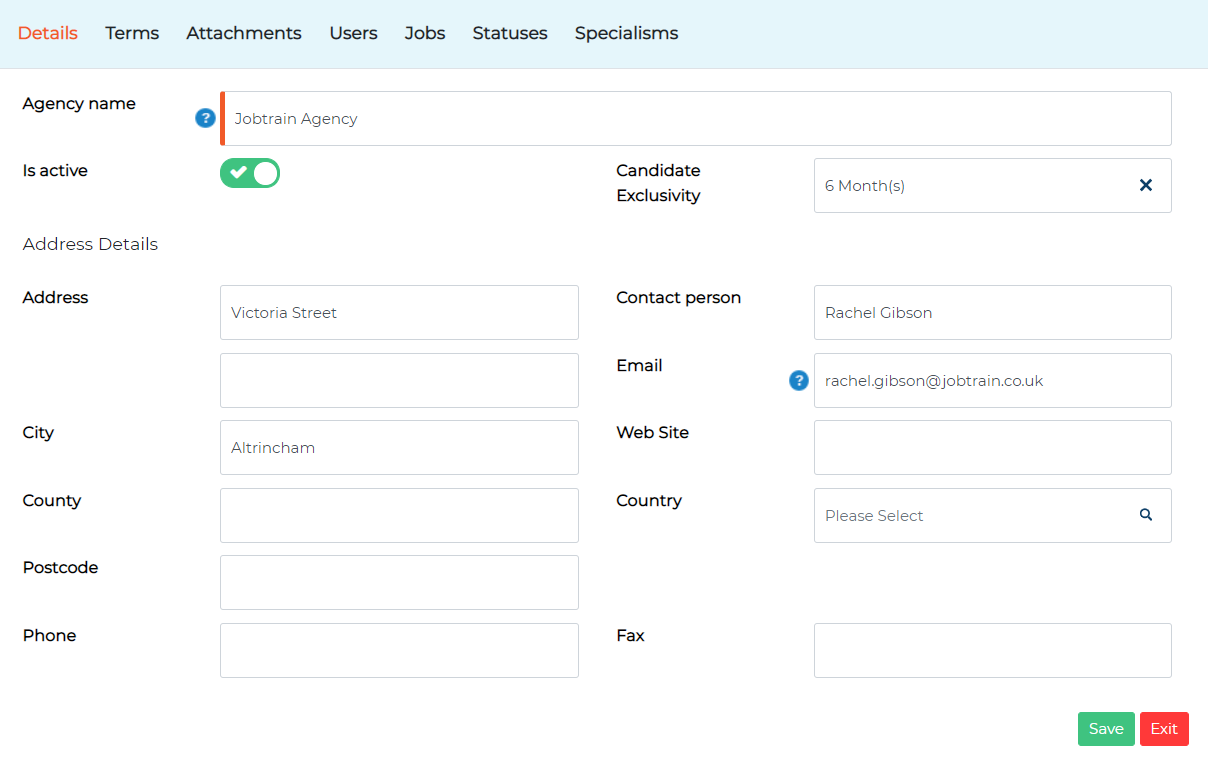
- To create a new agency in Jobtrain, select New Agency from the left-hand menu
- Add the agency name, contact person, their email address and other contact details
- Is active: toggle this on
- Select the agreed candidate exclusivity period under Candidate Exclusivity
- Press Save
- Once saved more sections will appear across the top
To create individual log in details for consultants, go to Users in Agency Details.
- Select New Consultant to open a new window.
- Add the consultant's name, email address, telephone number and choose whether they are active using the Is active toggle
- Add a username and password under Login Details and press Save.
NB: passwords must contain at least 8 characters, including a combination of 2 digits (0 – 9), 1 upper case character and 1 allowed special character (!@#|$%()_+^&}{:;?.)
Documents can be attached against each agency in Attachments. Or type in the agreed terms in the Terms section (these will be visible to the agency on the agency portal)
If you would like a more detailed overview of how to add agencies, read the agency user guide which covers this module in more detail.
Where does the information added in General Settings link to?
- Ethnic origins: populates the list of available ethnic origins within the Equal Opps section of the application form
- Advert source: populates the drop down responses to the question "Where did you hear about this vacancy" on the application form
- Job Location / Job Categories / Salary Bands / Regions / Division / Job / Department: these pull into the search fields section (visible on the client site, when creating a job) and determines the search criteria on the candidate site, however this can vary
To check which of these apply to your site, go to the search fields tab within a job.
- Job titles / Departments / Divisions / Locations / Cost Centres / Job Level / Work Levels / School Subjects / School Locations / Job Categories / Campaigns: can pull into Job Details depending on how your platform has been setup
Some of these fields may have been relabelled on the Job Details page to suit your business’ needs.
If you are looking to make changes to your job details setup, please contact our Support Team.