
This guide includes information on:
- Email Options
- Creating and amending Email Templates
- Amending Email Templates
- Creating/Amending Letter Templates
- SMS Options
- Creating / Amending SMS Templates
The communications section is where all system communication templates are created and held. To access this, go to Settings > Communications in the left-hand menu.
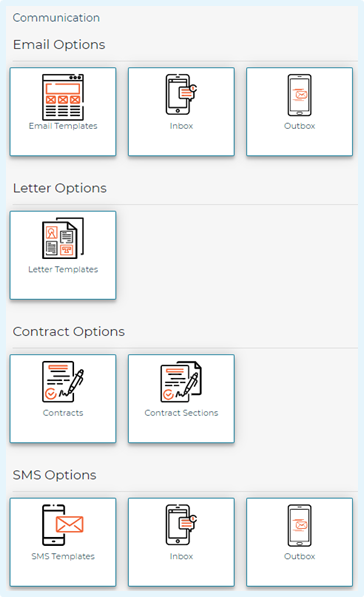
There are four available options in this section:
- Email Options
- Letter Options
- Contract Options
- SMS Options
Depending on the set up of your Jobtrain platform, some of the options mentioned in this section may not be available on your platform.
Email Options
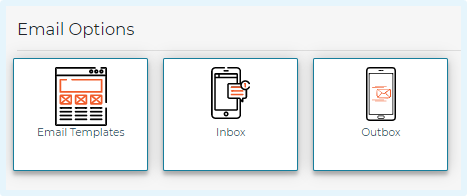
There are three available tiles in the Email Options:
- Email Templates: this is where you can create or update email templates to be used within Jobtrain
- Inbox: this displays all emails that have been received from candidates via Jobtrain
- Outbox: displays a list of all emails that have been sent out from Jobtrain
Emails displayed in the Inbox have been sent from candidates who, once logged into the candidate site, have selected my profile > my emails > create new email.
Creating and amending Email Templates
- In Email Options, select Email Templates
- Choose Create Email Template from the left-hand menu which will open a new window:
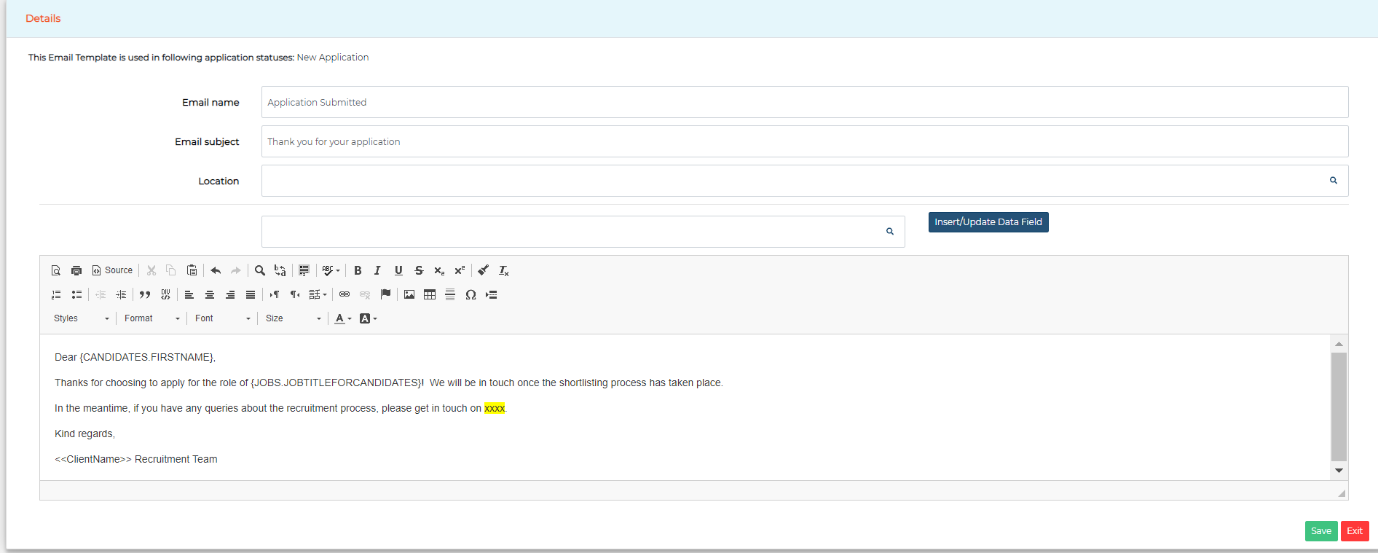
- Add the Email name and Email subject that will be sent to the recipients. Whilst not essential, you can also add a location if required to help when users are searching for the correct email template to use
Important note for clients utilising the Email & Calendar Integration (read the Email & Calendar guide):
To ensure that candidates' responses are recorded in their received emails, you must include the job reference number merge field in the email subject of all automatically generated candidate emails.
Merge field to be used: {JOBS.JOBREFERENCE}
For example:
- Acknowledgement Emails
- Incomplete Application Notifications
- 2nd Stage Application and Acknowledgment Email
- Invite to Interview Emails for Manual Interviews
- Invite to Interview & Interview Confirmation emails for interviews managed by the Self-Service Calendar / Event Manager
- Onboarding Emails
- Emails relating to 3rd Party Integrations such as DBS Checking, RTW checks & online testing.
- Any emails that are attached to a candidate application status.
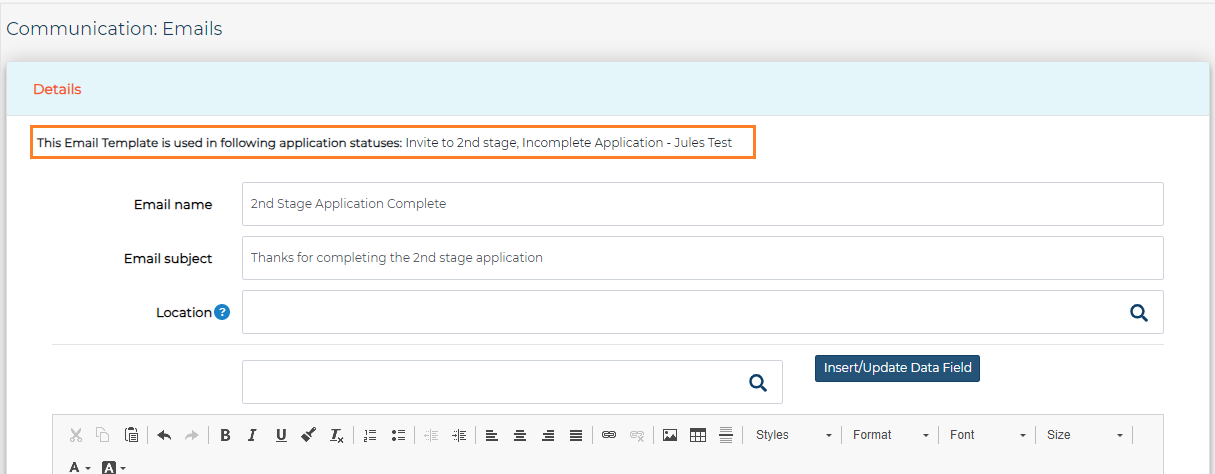
Did you know? You can easily identify any emails that are attached to a candidate application status within the email template itself as highlighted below.
- Add the main body of the email content using the formatting tools available to make any format changes
As with any wording content entered into Jobtrain, we recommend copying the content into Notepad first before copying into the platform to ensure any hidden formatting is removed.
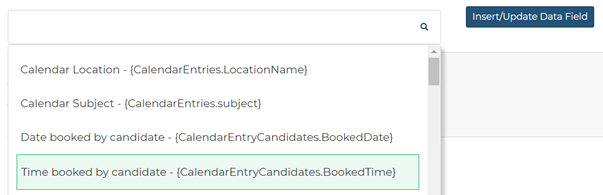
- To add merge fields, place your cursor in the area you wish to add the merge field. Select from the dropdown menu and click Insert/Update data field
Merge fields can only be added one at a time.
Date Merge fields
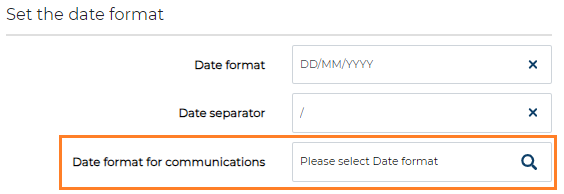
You can customise the appearance of the date merge fields when sending manual emails through the communication option in the candidate list action menu. This feature enables you to choose a long format such as "Tuesday 26th March, 2024" if required.
To specify the date format go to Settings > System Customisation > Set the date format and select the preferred date format for communications.
Once all formatting is complete and you have added all required merge fields to the email template, click Save and Exit.
How to add a link/URL to a website
- Select the paperclip icon:

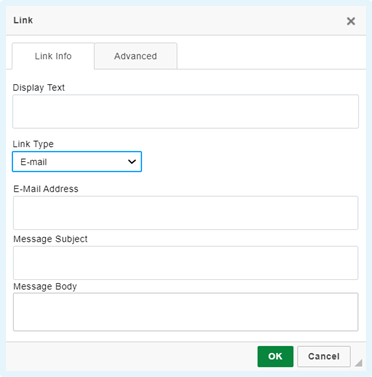
- A pop-up box will open
- Add Display Text: this is the wording that will be displayed in the email
- Link Type: select URL
- Protocol: choose what precedes the URL - https:// or http:// or one of the other options available
- URL: add the URL/link
- Press OK
You can also set the email subject so that when the recipient of the email clicks on the email link the email subject is already filled out for them.

Add a link to an email address
- Select the paperclip icon:

- Link Type: select E-mail
- E-Mail Address: add the email address here
- Message Subject: add the message subject
- Press OK
Once all formatting is complete and you have added all required merge fields to the email template, click Save and Exit.
Attach a document from the document library to an email template:
- First, copy the URL of the document you wish to attach to the email
- Go to Settings > General Settings > Document Library
- Select the document you would like to attach and then Copy Url
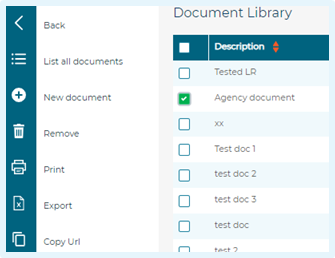
- The page will then refresh to show the Url
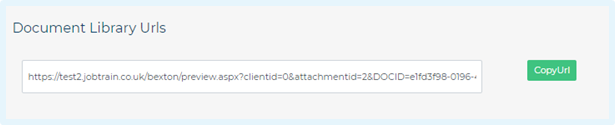
- Copy Url
- Go back Settings > Communications > Email Templates
- Open up the relevant email template
- Select the paperclip icon
- A pop-up box will open
- Add Display Text: this is the wording that will be displayed in the email, so add in the name of the document
- Link Type: select URL
- Protocol: choose what precedes the URL - https:// or http:// or one of the other options available
- URL: add the URL/link
- Press OK

When candidates then click on this link it will download a copy of the attached document.
Amending Email Templates
To amend any existing email templates, simply find the template in the list of templates (or use the Search emails function at the top of the email templates page). Select the email name to open the editing window.
Make any required changes, then click Save and Exit.
Unused email templates can also be archived. Simply check the box next to the template and select Archive in the left-hand menu.
Email Templates connected to candidate statuses
We would always recommend checking that the email template you wish to archive is not attached to any candidate statuses.
You will be able to see at the top of the page whether the email is linked to any candidate statuses:

Creating/Amending Letter Templates
- Select Create Letter Template from the left-hand menu - a pop-up window will open.
- Or click on a Letter Name to open and edit an existing template
- Add a Letter name and main body of the letter wording, using the formatting tools available to make any format changes
As with any wording content entered into Jobtrain, we recommend copying the content into Notepad first before copying into the platform to ensure any hidden formatting is removed.
- To add merge fields, place your cursor where you wish to add the merge field, select from the dropdown menu and click Insert/Update data field

Note:
Once all formatting is complete and you have added all required merge fields to the letter template, click Save and Exit.
SMS Options
Text messaging is an optional feature. If you do not currently have access to this functionality, your Client Success Manager will be happy to discuss this feature with you.
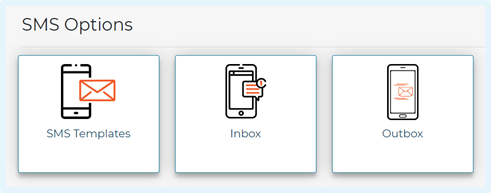
Similar to the email options, there are three areas in SMS Options:
- SMS Templates: create or update SMS templates used within Jobtrain
- Inbox: displays all text messages received from candidates via Jobtrain
- Outbox: displays a list of all text messages sent out from Jobtrain
Depending on the set up of your Jobtrain platform, you may have either one-way or two-way SMS messaging. If you have the one-way option candidates will not be able to reply to SMS messages therefore the inbox would be empty.
Creating / Amending SMS Templates
- Under SMS Options, select SMS Templates
- Select Create SMS from the left-hand menu - a pop-up window will be displayed
- Or select SMS Subject to open and edit an existing text message template
- Add the SMS name and, if required, add a location to help users search for the correct template to use
- Add the text message content in the main text box
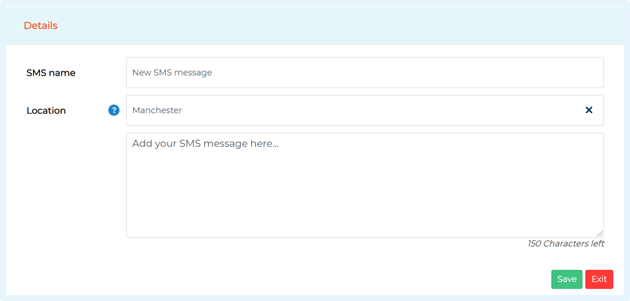
Once the content is complete in the SMS template, press Save then Exit.
A 150 character limit is in place on SMS templates. The character counter at the bottom right corner of the text box will count how many characters you have remaining.
System Customisation – closing date has passed
You can set-up an email template to send to Line Managers once a closing date has passed or a job has been made live.
Update this by following the steps below:
Settings > System Customisation > Emails > Set default emails to line manager > Closing date passed email to line managers and Live notification to line manager.
Within the closing date is passed or the job is now live email templates, you can use the following merge fields:
<<JobTitle>>
<<JobID>>
<<Location>>